# Clone Tool
The Clone Tool is a utility built into MyNode that can help migrate data from one drive to another. This can help you move data to a larger drive or upgrade from a hard drive (HDD) to solid state drive (SSD) for better performance.
# Using the Clone Tool
To start using the clone tool, first go to the settings page and click on the 'Open Clone Tool' button.

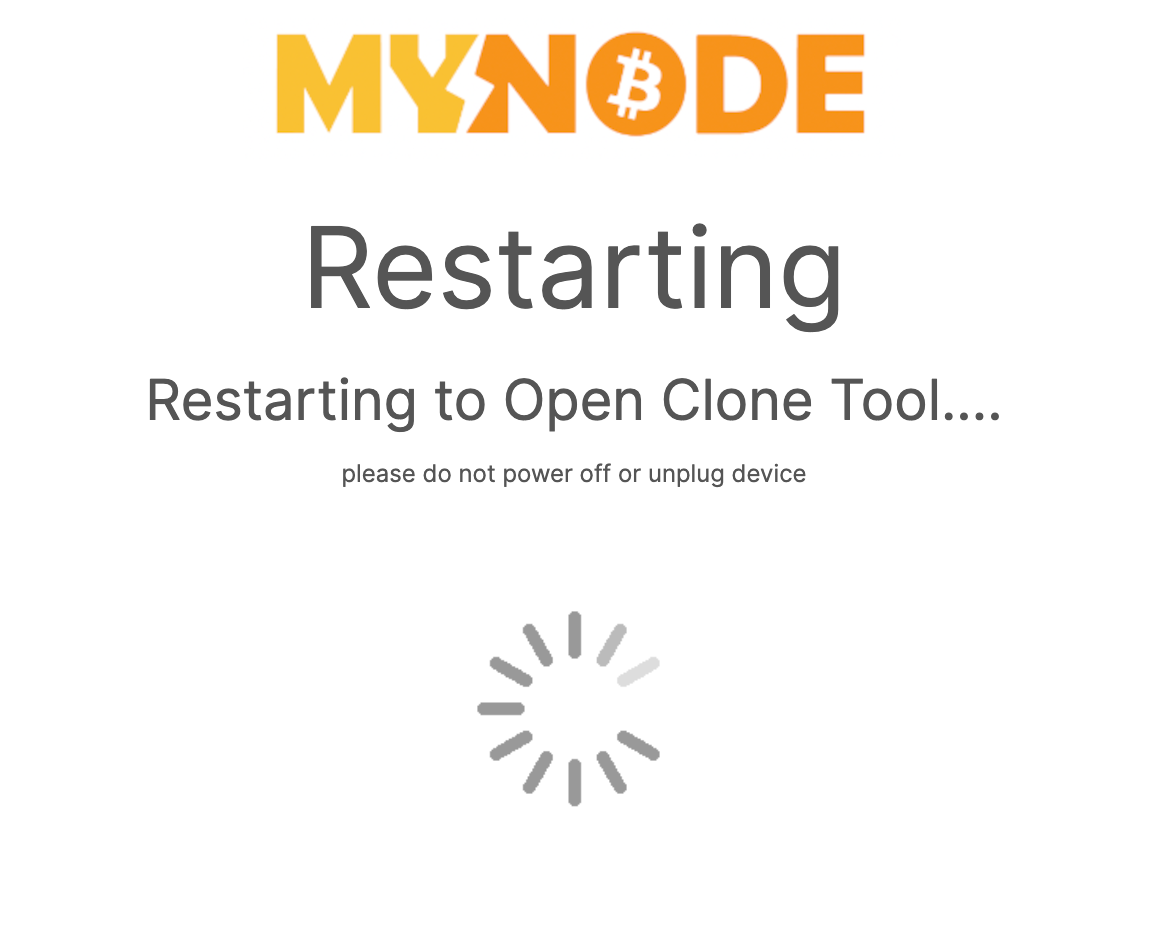
This will restart MyNode and open the Clone Tool after rebooting. In this state, Bitcoin and other apps will not be running.
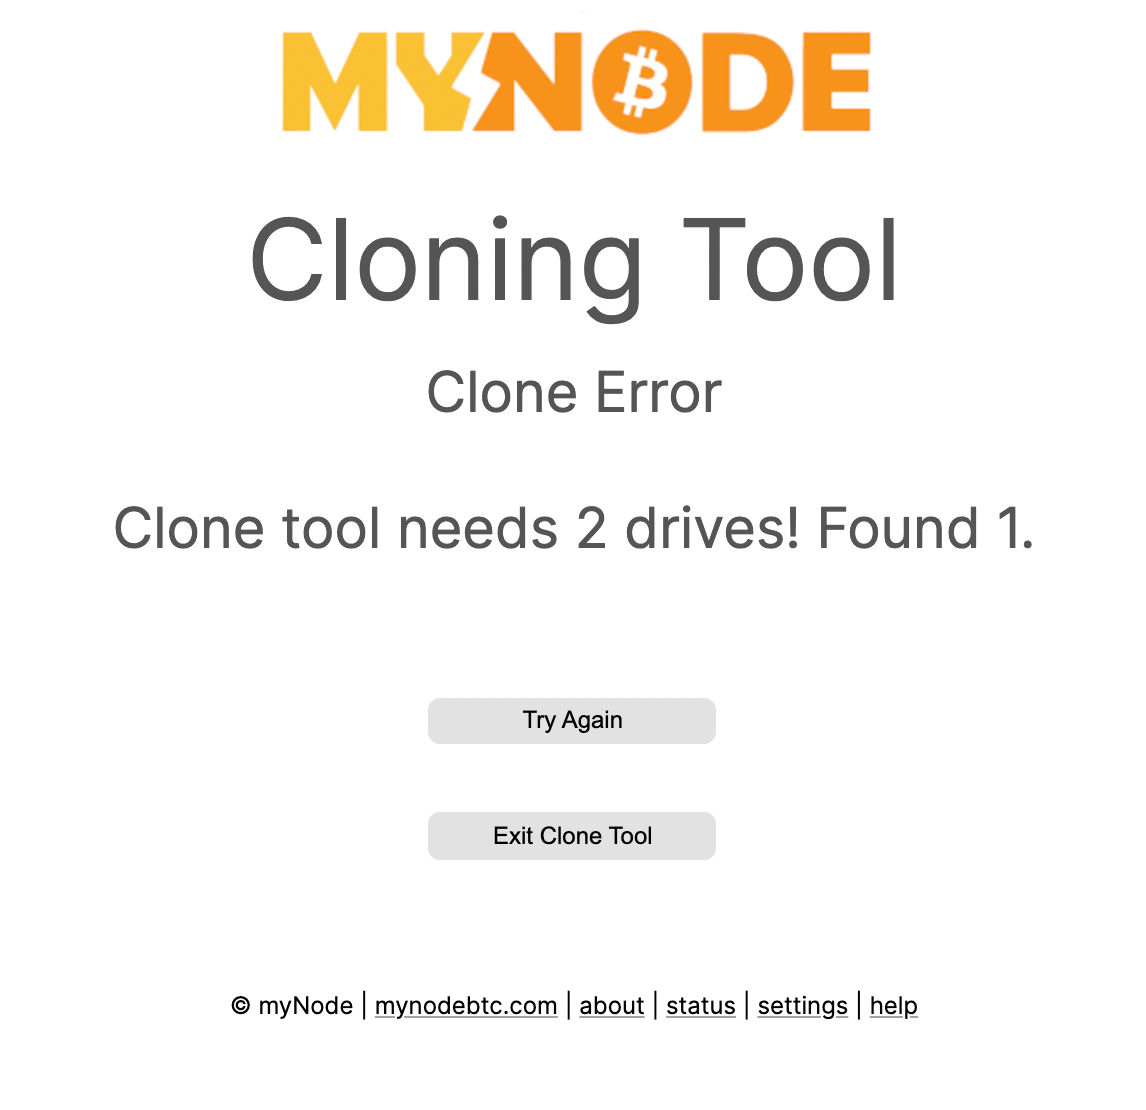
Once open, the Clone Tool will wait for two drives to be attached. Two drives can require more power than small, embedded devices like Raspberry Pis can provide via USB, so it is recommended to attach both drives via a powered USB hub to ensure both drives have sufficient power.
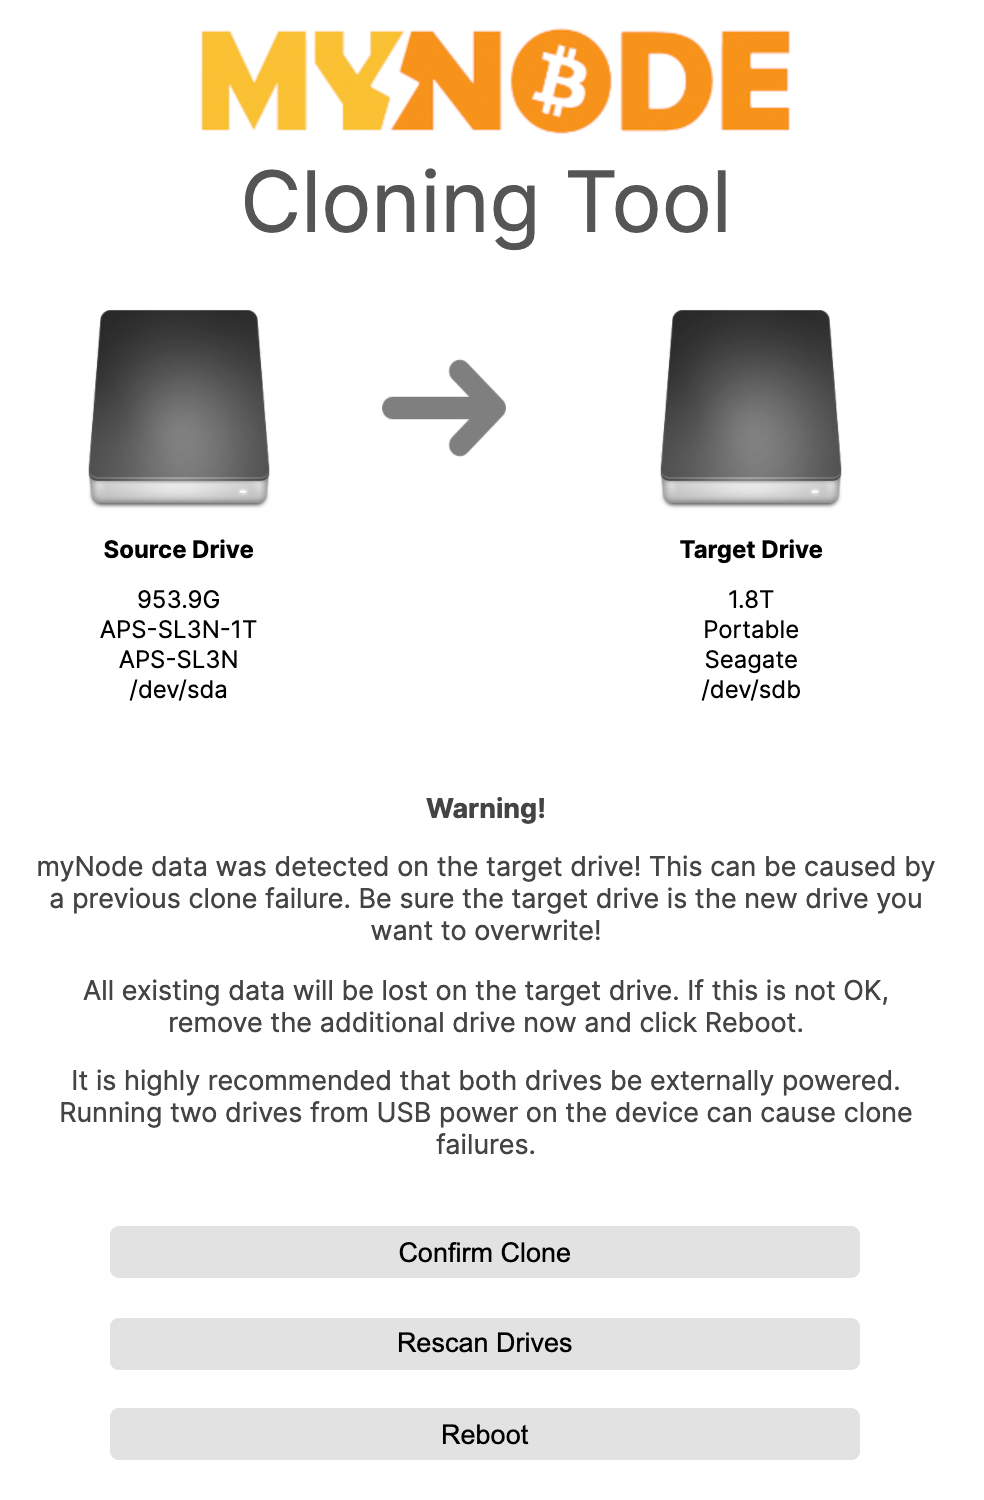
After attaching both drives, you will be promoted to confirm the clone process. You can also reboot to go back to normal MyNode operation or rescan the drives if something doesn't seem correct. If rebooting, detach the second drive first.
Be sure to verify the source and destination drives are correct! After confirming, the destination drive will be erased and data from the source drive will be copied to it.
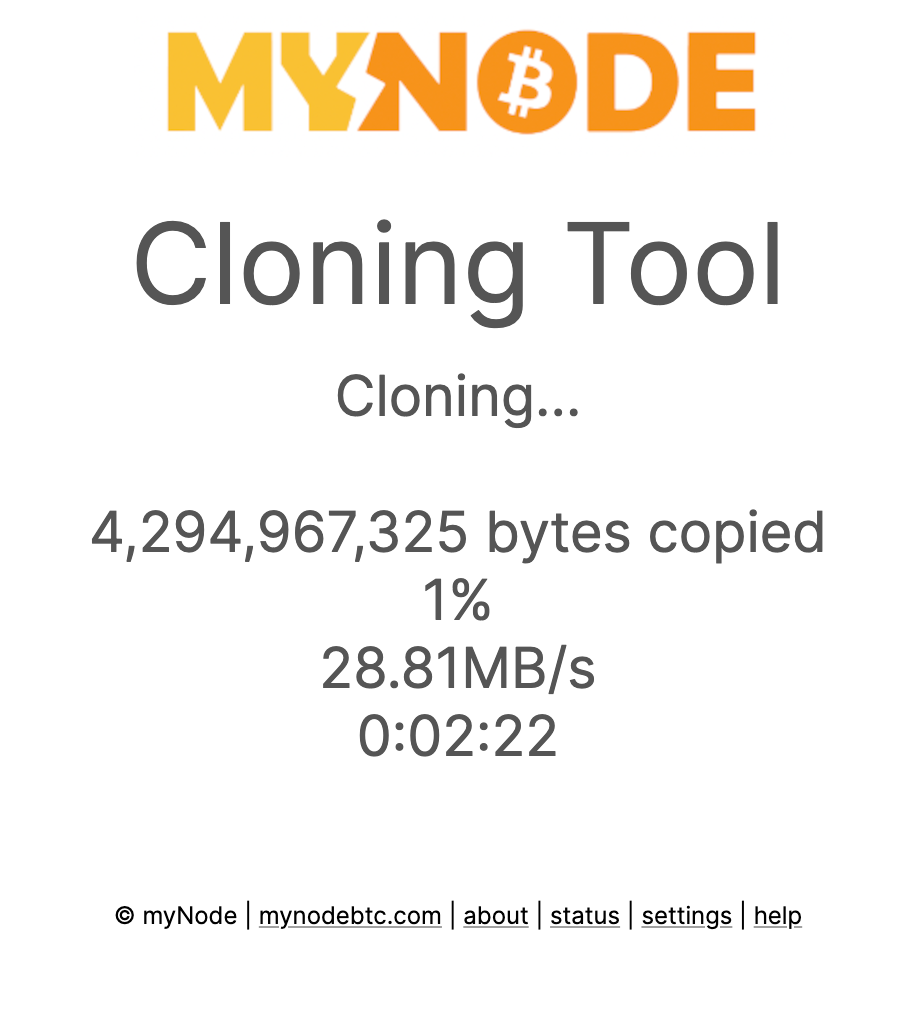
After confirming, the clone process will begin! There are a several stages and it may take a few minutes to start seeing progress while it shows 0% complete.
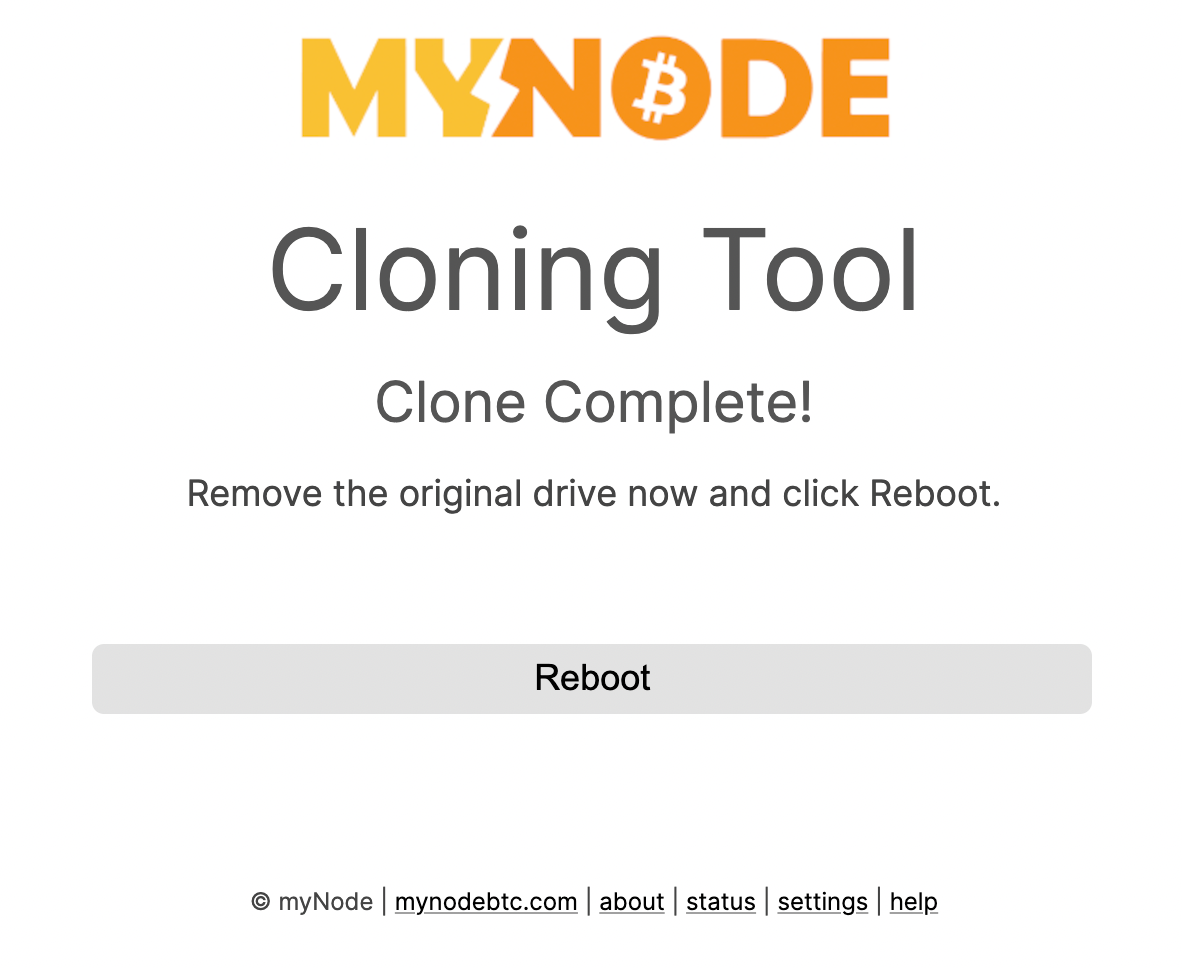
Once complete, you should see a success screen and can reboot the device back into normal operation! Disconnect the source/old drive before rebooting.
Note: After using the new drive, be cautious about reverting to the old drive and using Lightning. Using old channel state can cause loss of funds.
