# Install on Virtual Box
# Download
- Download the virtual box manager for your operating system from virtualbox.org
- Download the virtualBox extension pack from the above website
- Download the OVA file from mynodebtc.com (3.2GB)
# Install the Virtual box manager
- Double click the virtual box manager (.exe, .deb or .dmg file) and follow instructions to install it.
- Double click the Extension Pack (.vbox-extpack) and follow instructions to install it
Note: The extension pack and virtual box manager should have the same version. Please remove any old VM managers.
# Import the virtual image
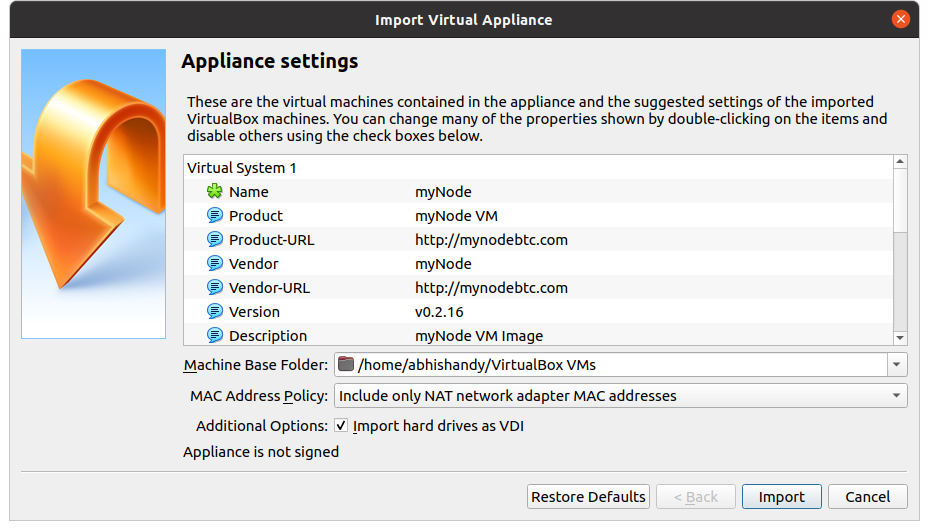
- Double click the mynode_vm_<version>.ova file to launch the Virtual box manager and launch the import window (as seen below).

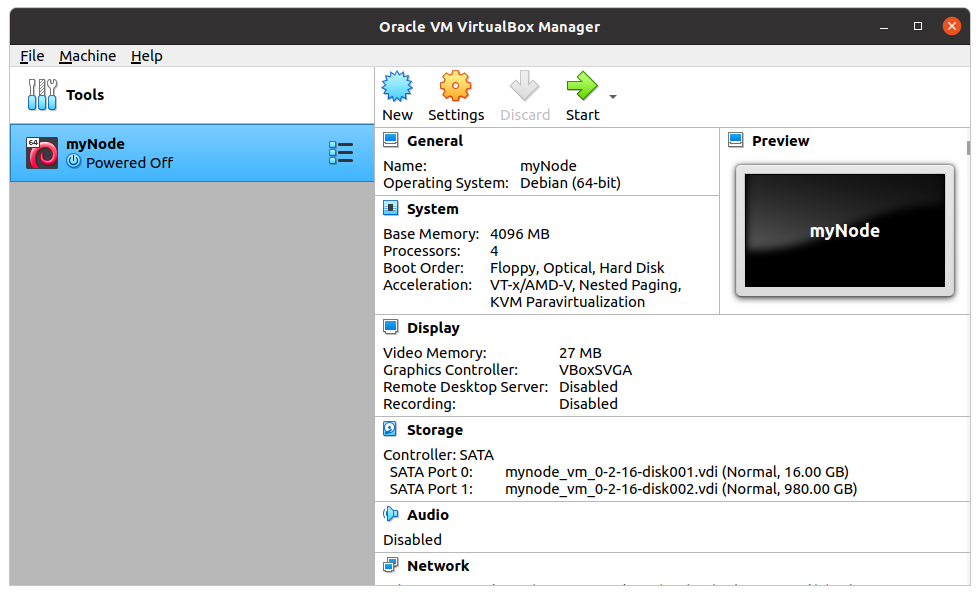
- Leave the default settings and click on Import. Once it's imported, you should a screen like shown below

# Launch the Virtual Box
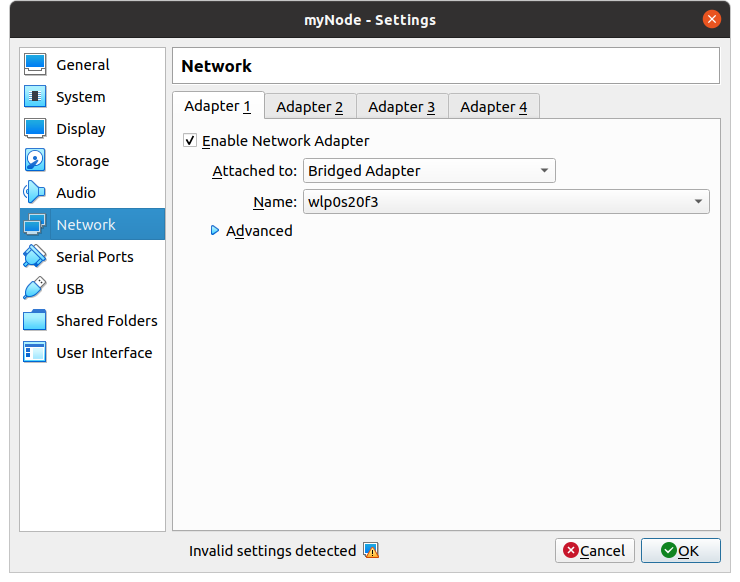
- By default the network settings uses the Wired connection. Change the network settings if you want to use wireless network.
- Click on Settings wheel (or Ctrl+S)
- Choose the Network tab
- Enable Network Adapter should be checked
- "Attached to" should be configured to Bridged Adapter
- Change the name to appropriate network (eg. wireless network starts with wl)
- Click on OK to close the settings window

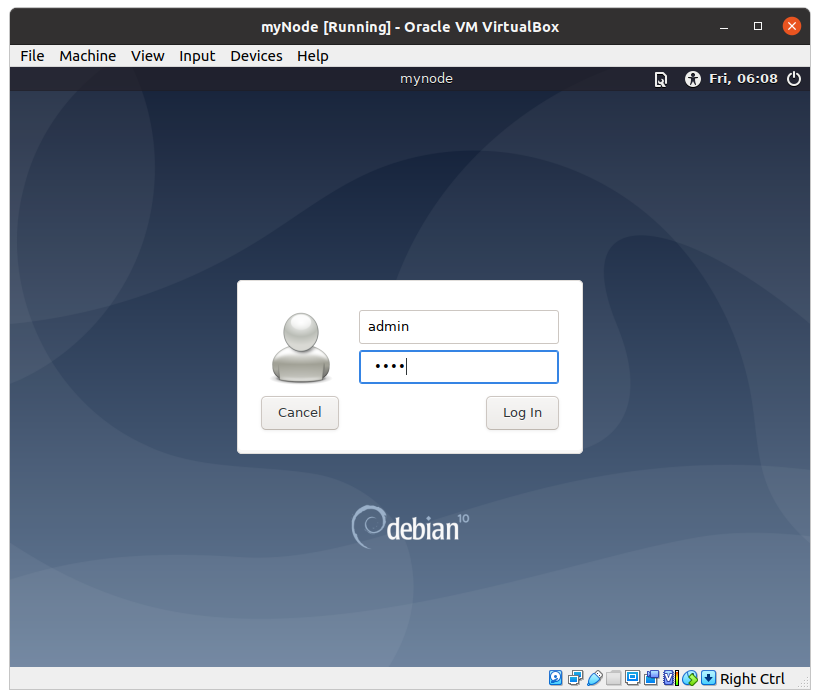
- Double click on MyNode from the sidebar and let it open a new window, as shown below.

- Enter username as admin and password as bolt
- Enter the password again in the Chromium window
