# Install on a PC or Server
# Background
MyNode has been designed to protect your data by requiring two storage drives. One drive contains the operating system and applications and the other stores data, like the Bitcoin blockchain. This allows for easier data backup and enables simpler recovery.
This guide suggests using a USB thumbdrive to boot the operating system and using an internal drive for data. In more advanced use cases, the MyNode image can be written to an internal drive as well using similar tools. Any existing data on the thumbdrive and data drive will be lost.
Required Hardware
- USB Thumbdrive (32GB+)
- PC, Laptop or Server
# Download
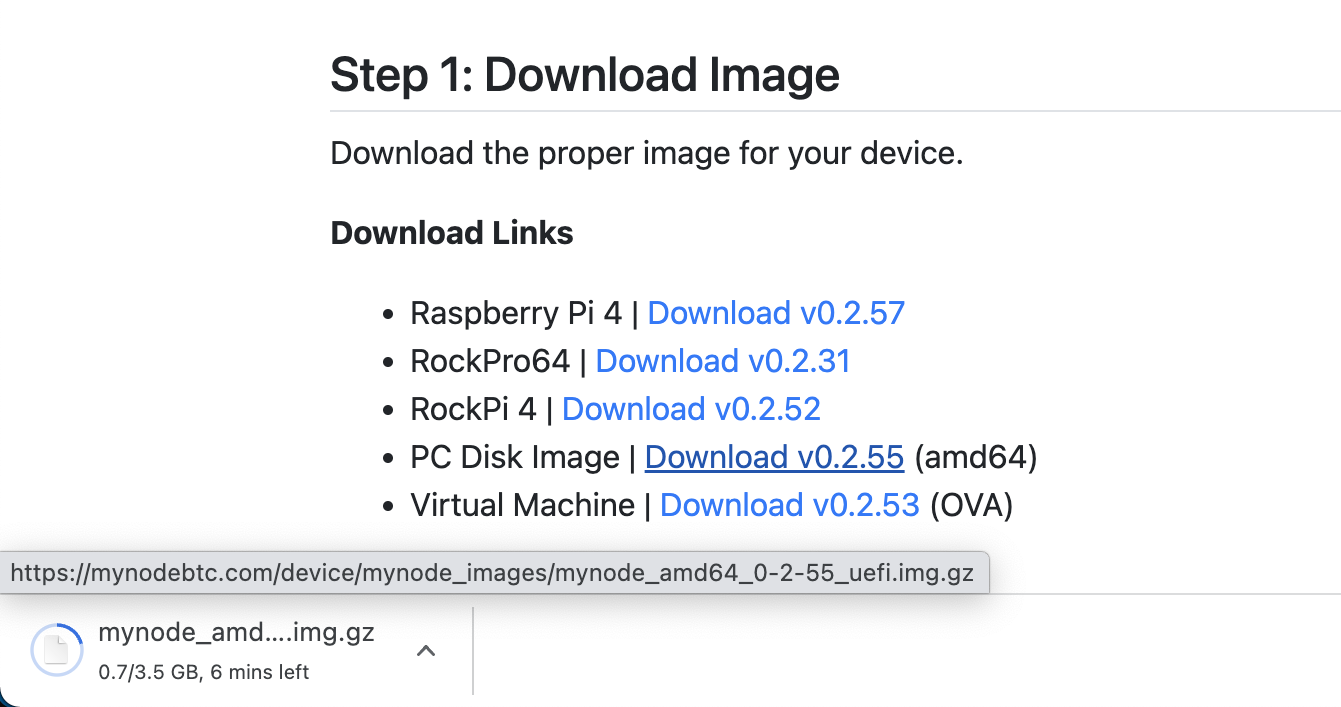
First, download the MyNode image for a PC or server (amd64) from mynodebtc.com and save it. This should be done on a PC that is not intended to be used as the node.

# Install MyNode
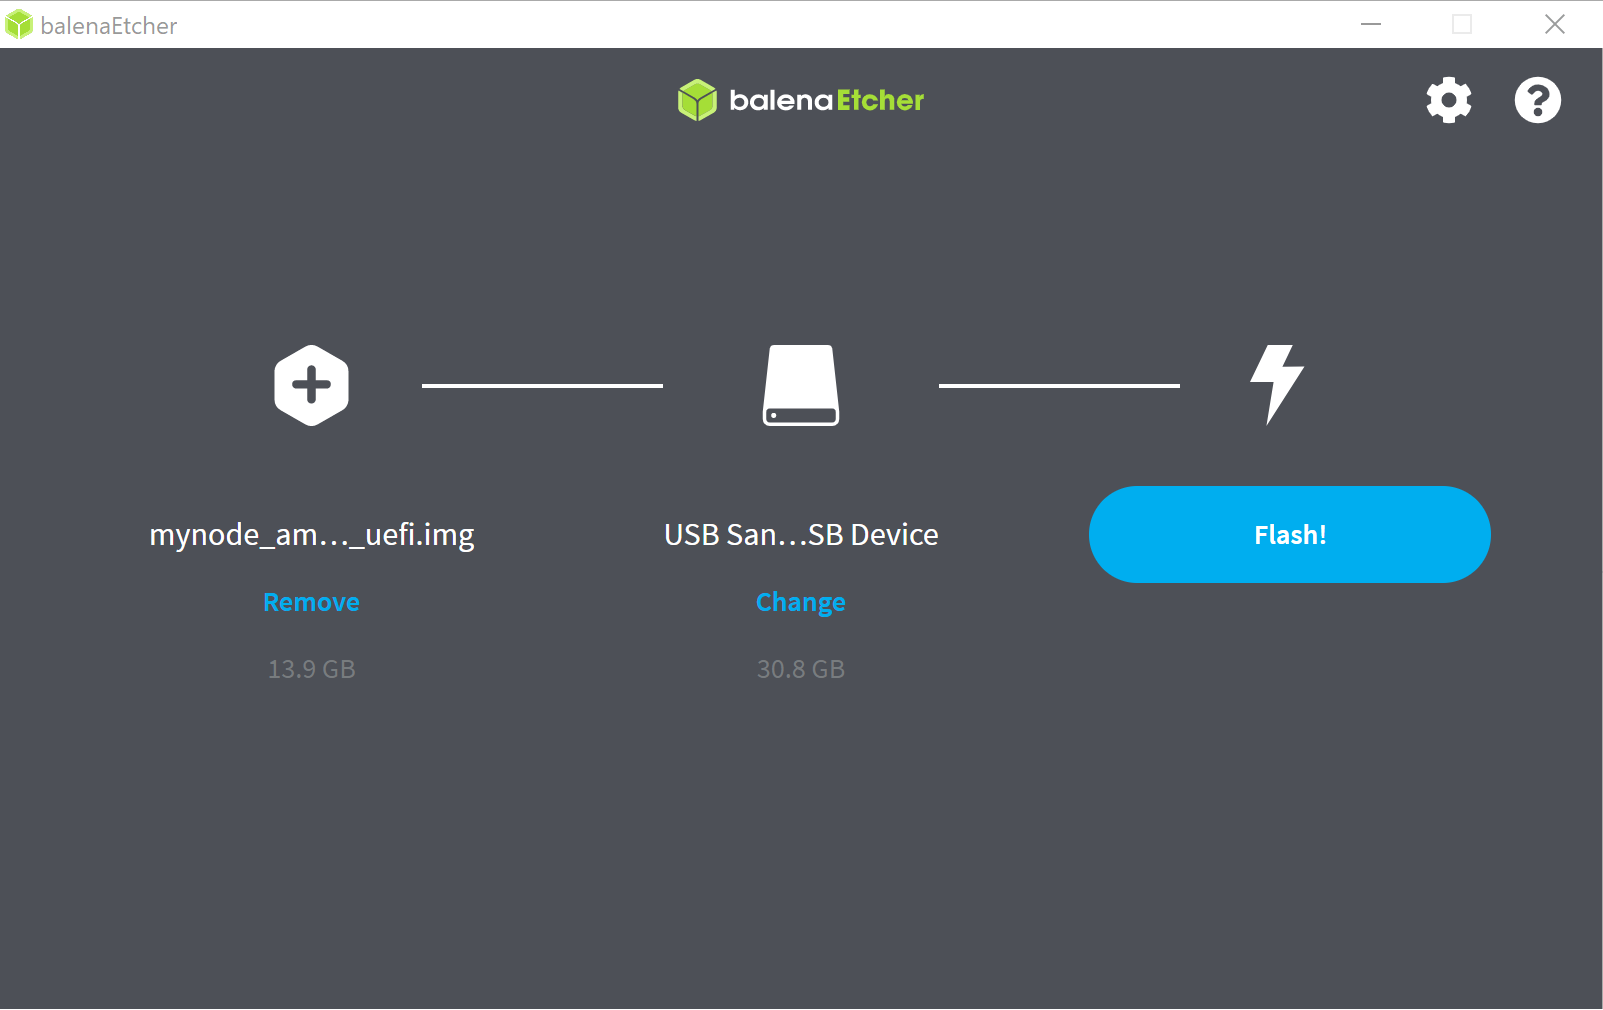
Once the image has been downloaded, the image needs to be written to a drive that will be used to boot the PC or server intended to run MyNode. This can easily be done with a USB thumbdrive and Balena Etcher. If using a USB thumbdrive, make sure it is at least 32GB.
Insert the USB drive into your PC. Open Etcher, click Select image and choose the downloaded image. Note, the downloaded image may need to be extracted first.
Next, click Select target and select the USB drive, then click Flash! to write the image to the USB thumbdrive.

Once complete, you can remove from your PC once the image has been successfully written.
# Boot Device
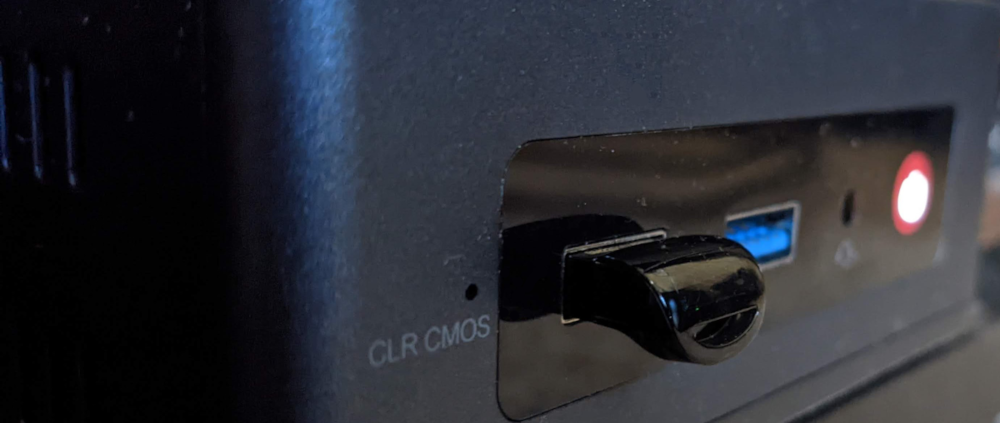
Now that the USB drive has been written, insert it into the PC or server to be used as your node and reboot the device. The device may need to have its BIOS settings updated to boot from the new device.

# Running MyNode
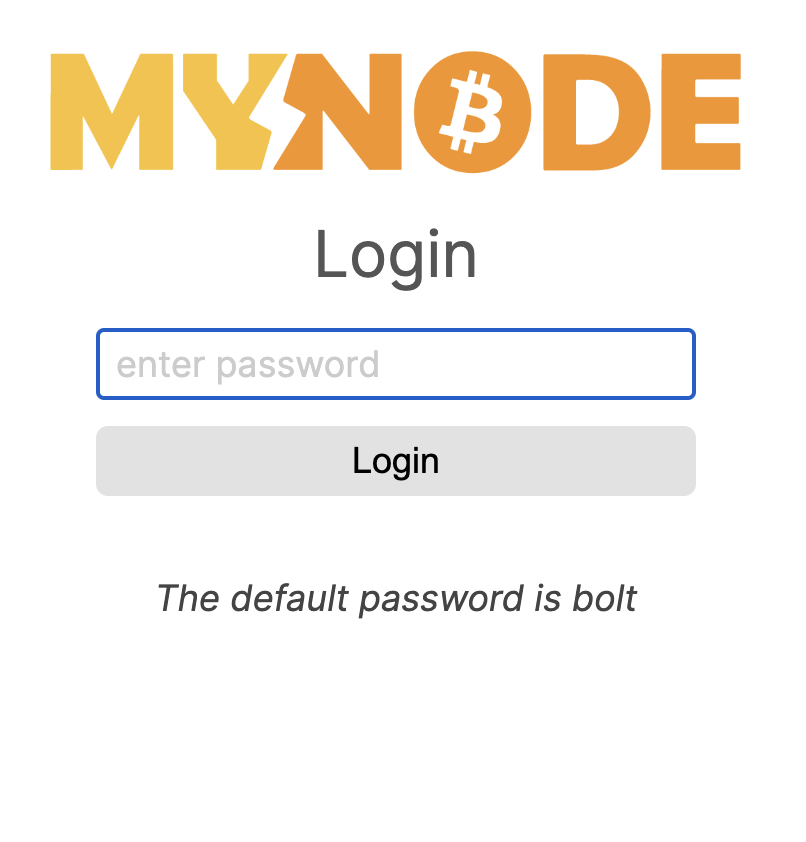
Once the PC or server has been powered on, you can access the MyNode interface by either accessing http://mynode.local via a device connected to the same network or via a monitor and keyboard connected to the device. You can login with the password bolt.

